Visitors Counter and Automatic Room Light Using Arduino

How to make a Visitors Counter with Automatic Room Light with Arduino
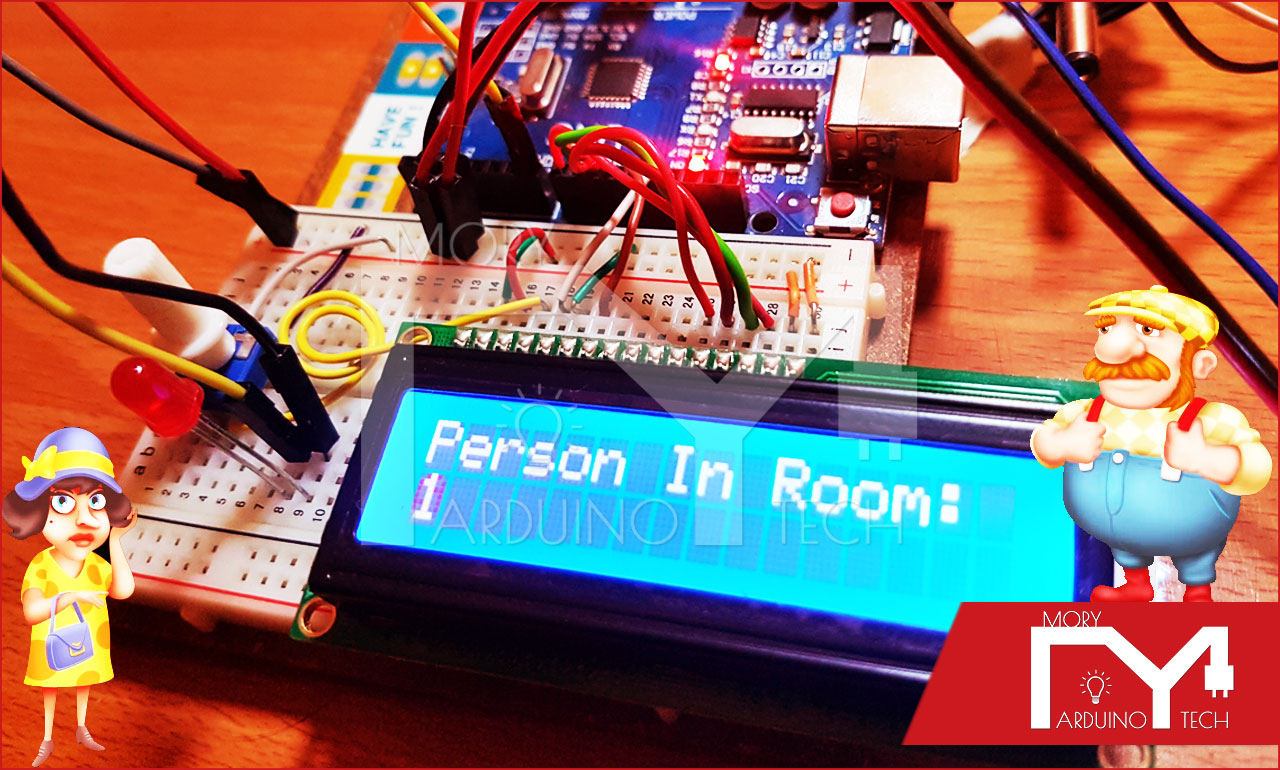
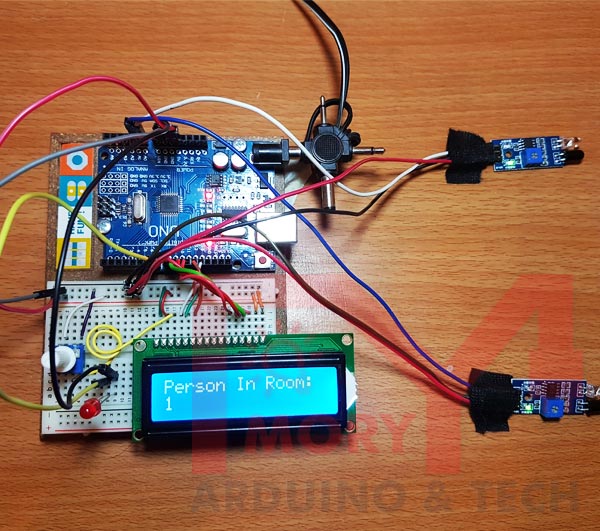
In this tutorial we will learn how to make a Visitors Counter with Automatic Room Light Using Arduino.
For this tutorial we will use 16X2 LCD, Led, Potentiometer, IR Sensor and Arduino UNO.
Hardware Required :
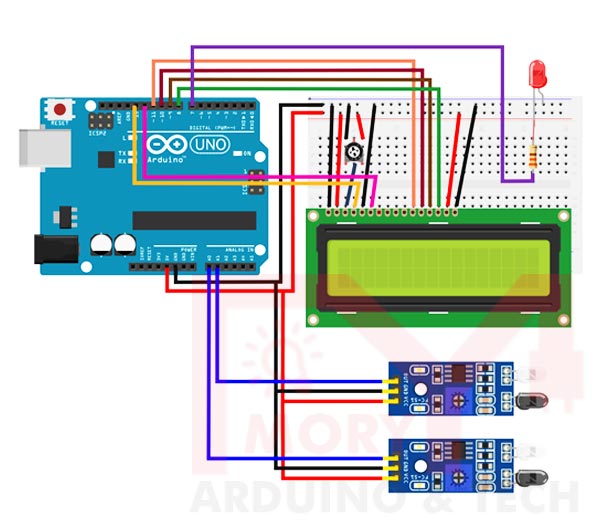
Project circuit :
Project circuit diagram is shown below.
How IR Sensor Works
As we give power to IR Sensor using Arduino at that point White LED light is transmitted the IR rays. This IR ray is strike with the thing , it’ll reflect back and received at black LED light. As this phenomenon occur IR Sensor Produce Low or High Voltage at output pins. It depends on what sort of sensor you select .
Your Programming is trusted which sort of sensor you select . So you would like to see it out.
- Active High Sensor : Output is High
- Active Low Sensor : Output is Low
LCD screen
This display screen can be programmed to display whatever you want in a 16×2 matrix. this suggests that the screen (as you will soon find out) has two rows capable of fitting 16 characters in each row.
Now you will have to trust me on this next step. We are going to manually install a library that the LCD requires to run. You will be using this same method in future, so be patient and try to understand what we are doing here.
Download the LiquidCrystal_I2C.zip file .
Now, in the Arduino IDE, go to Sketch | Include Library | Add ZIP library and browse to the downloaded ZIP file.
You are good to go.
If this doesn’t work, you can manually extract the contents to:
C:\Users\<Username>\Documents\Arduino\libraries\LiquidCrystal_I2C on Windows or Documents/Arduino/libraries/LiquidCrystal_I2C on the Mac and the same on Linux.
You will have to restart the IDE for it to be detected.
Link to the Code :
https://github.com/MORYTECH/ARDUINO-CODE/blob/master/Visitors%20Counter%20and%20Automatic%20Room%20Light%20Using%20Arduino.txt

